WoW SoD: Complete Sunken Temple Raid Guide – Location, Bosses, & Strategies
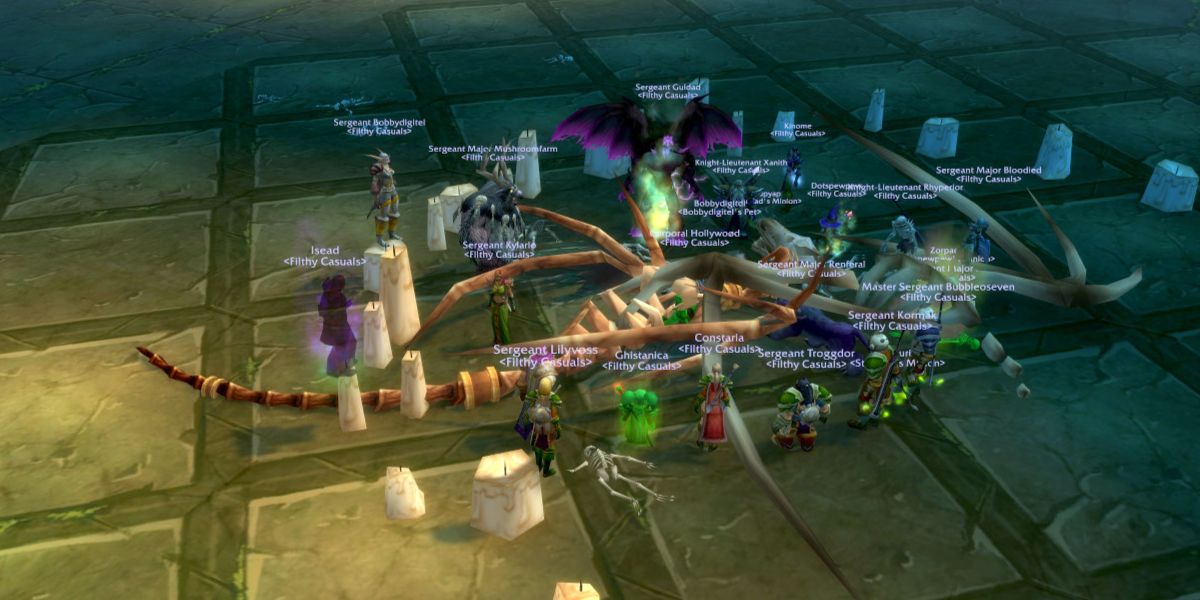
Sunken Temple, also known as the Temple of Atal’Hakkar, is the most recent of the Classic WoW dungeons that have been revamped for the Season of Discovery. Now a 20-man raid, beating Sunken Temple requires a lot more coordination from players within raid teams, thanks in part to a heightened personal responsibility to follow mechanics and the complex strategies needed to down each boss.
WoW Season of Discovery: Complete Gnomeregan Raid Guide
Gnomeregan is the new Level 40 Raid in WoW SoD Phase Two – follow this guide to learn how to prepare for and beat the revamped Gnomeregan SoD bosses.
There are eight boss encounters in Sunken Temple, many of which are duo boss fights – or even more, in the case of the Atal’ai Defenders. Plan ahead and learn the Sunken Temple boss fight strategies with this guide, which explains how to find the Sunken Temple’s entrance, details the boss mechanics you must follow, and offers tips for each role to efficiently finish the new Sunken Temple raid.
SoD Sunken Temple Location
How To Get To Sunken Temple
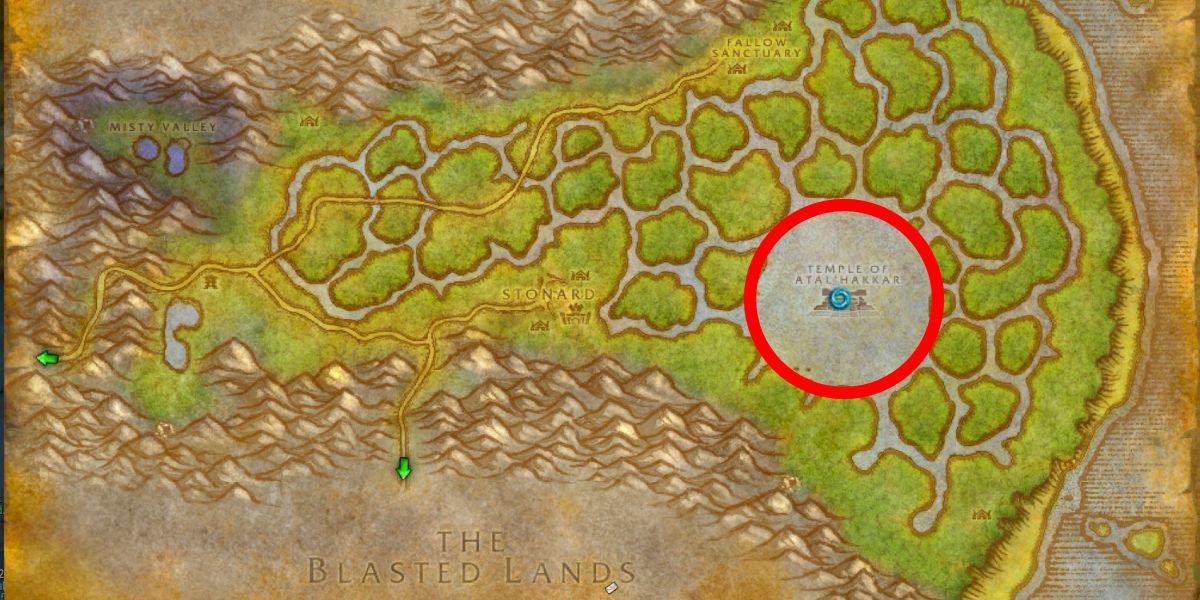
The Temple of Atal’Hakkar is located in the far east of the Swamp of Sorrows. On the world map, click on the Swamp of Sorrows zone and look for the island in the middle of a huge lake – this island is where the Sunken Temple entrance is located. Be sure to pick up any available SoD ST quests before heading to the instance portal area.
- Alliance players can either fly to Duskwood and go east to get to the Swamp of Sorrows, or fly to Nethergarde Keep in the Blasted Lands and go north. From Duskwood, follow the road east, through Deadwind Pass, to reach the Swamp of Sorrows. From Nethergarde Keep, travel northwest and enter the Swamp of Sorrows through its southern border.
- Horde players can simply fly to the Stonard FP in the Swamp of Sorrows. If you haven’t unlocked this flight point yet, you may need to go to Grom’Gol Base Camp in Stranglethorn Vale and travel through Duskwood and Deadwind Pass to get there.
Once you reach the temple steps, walk forward until you enter the water, then swim to the back-left corner of the surface that you entered in (without going underwater). Log out in this corner while floating to instantly be teleported to the instance graveyard area – this is the ST logout skip.
Walk through the corner opposite where you spawn in and turn left, then follow the stairs up and continue forward along the upper balcony. Turn left at the end, then immediately turn right to find another set of stairs leading down towards the instance portal. This is the same route you will follow if you die inside ST and have to run back to the instance.
How To Beat Atal’arion
Atal’arion Strategy & Tips For Each Role
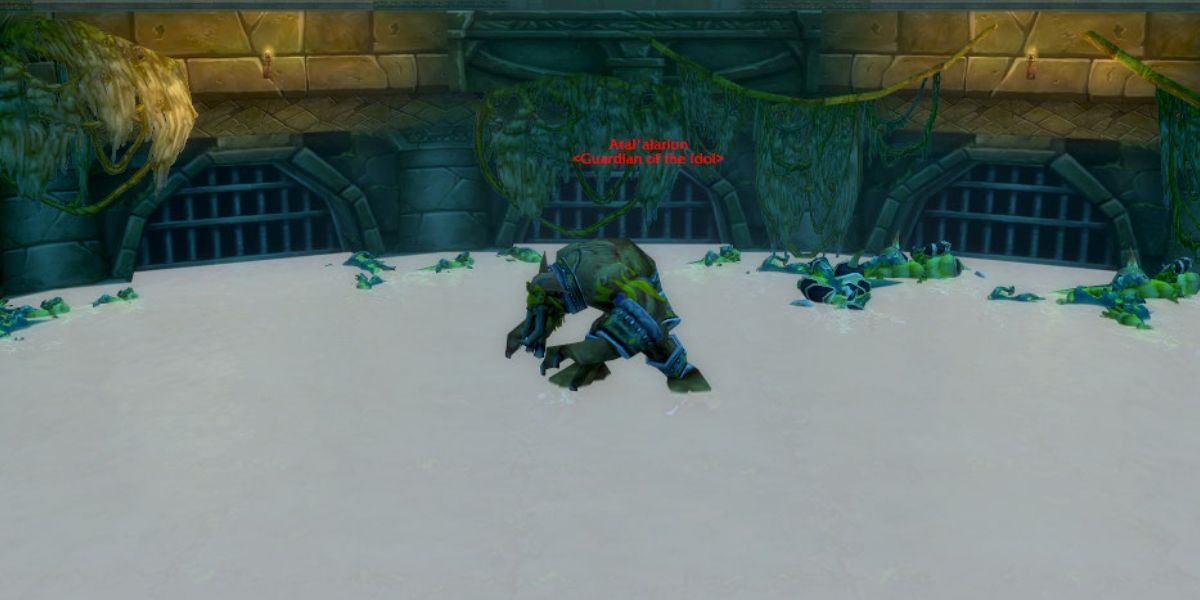
Atal’arion can only be fought after all of the Idols above his boss arena have been activated, which can only be reached via a rope on the outskirts of his boss arena. After jumping up, and rotating around the upper ring to interact with all of the Idols, jump back down to the lower level and get ready to face the boss.
Atal’arion is more or less a simple tank-n-spank fight with one important mechanic. At regular intervals he will summon large stone pillars around the room. It is the job of all players to stand in front of one of these, and move to pillars that don’t have a player covering them. After summoning two rounds of pillars, Atal’arion will knock everyone backward, destroying pillars in their path.
Pillars that are left up will give the boss a stacking buff, so every player must find a pillar to destroy.

WoW: Cataclysm Classic – Preorder Guide
World of Warcraft Cataclysm Classic is almost here, and there are a few preorder options if players fancy some extra goodies in their adventure.
Atal’arion Tank Tips
Atal’arion Melee DPS Tips
|
Atal’arion Ranged & Caster DPS Tips
|
Atal’arion Healer Tips
|
How To Beat Festering Rotslime
Festering Rotslime Strategy & Tips For Each Role
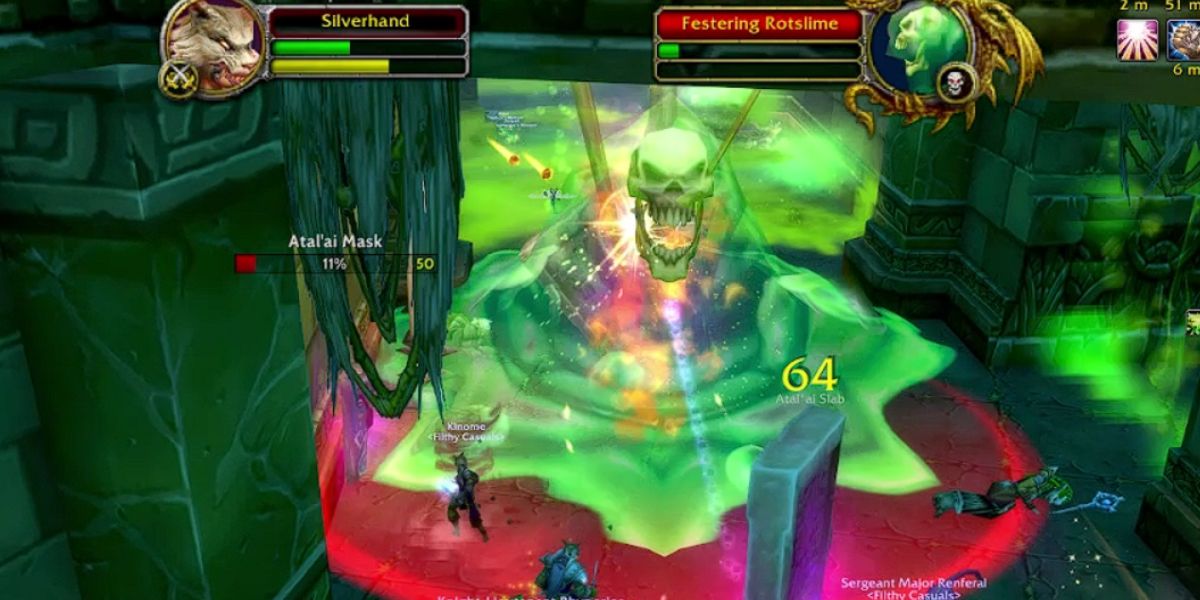
After beating Atal’arion, head back upstairs and carefully peek out into the circular hallway you were walking around while enabling the various Idols for the first boss. The Festering Rotslime is unique in that it constantly moves, and the Raid must attack objects to slow it down and eventually stop its movement momentarily. You actually do not need a Tank at all for this fight – it’s all about mechanics and damage.
The Rotslime will move clockwise around this circular hallway, and when combat begins, objects that adorn the wall gain an HP bar. As the Slime progresses forward, it will slowly get faster unless these objects are destroyed and launched into its path. It’s up to melee DPS and Ranged DPS to focus on slowing and stopping the Slime to prevent it from overtaking the Raid.
WoW SoD Phase 3: Nightmare Incursions Walkthrough & Rewards
New to the WoW Season of Discovery in Phase 3, Nightmare Incursions offer lots of quests, lots of XP and Gold, and a new reputation to farm.
Festering Rotslime Tank Tips
|
Festering Rotslime Melee DPS Tips
|
Festering Rotslime Ranged & Caster DPS Tips
|
Festering Rotslime Healer Tips
|
How To Beat Atal’ai Defenders
Atal’ai Defenders Strategy & Tips For Each Role
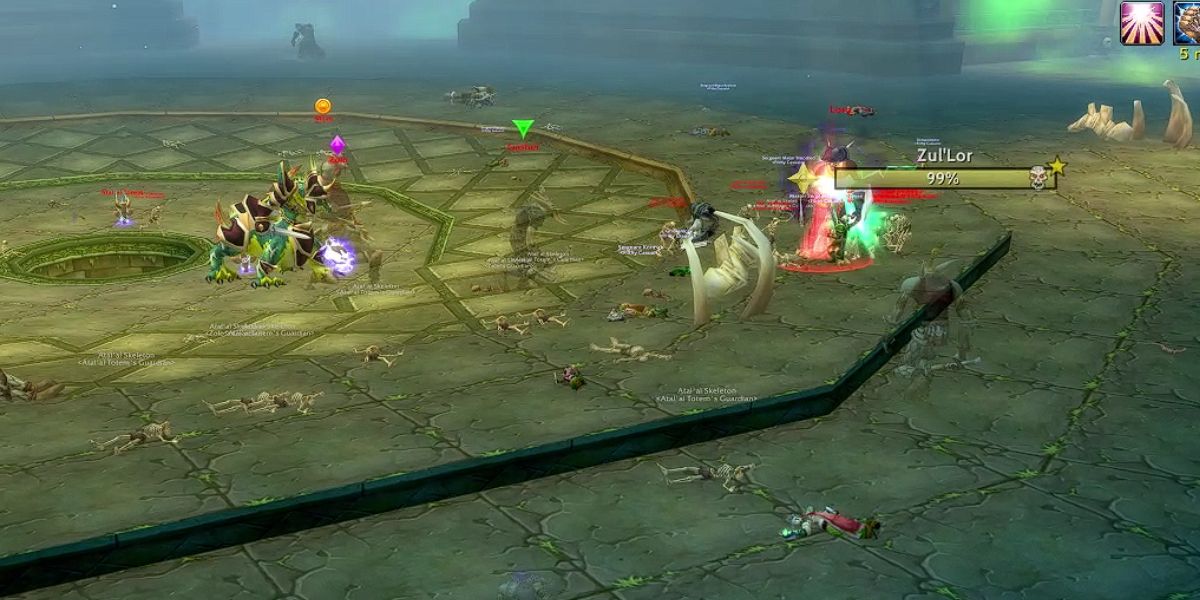
The Atal’ai Defenders are actually six bosses crammed into a trenchcoat, so to speak. Every week, the order of bosses is different, but the overall strategy remains the same. Each boss has one or two abilities to look out for and manage. But after defeating each one, they don’t die: they turn into an Undead version of themselves and remain in the fight. The Undead bosses in this encounter must be CCed constantly to prevent Tanks from becoming overwhelmed. In Undead form they still cast their normal abilities but can be CCed, while only select abilities can be Kicked when in their normal form.
AoE abilities should be avoided at all costs as they can easily un-Freeze the Undead bosseson accident. But aside from maintaining CC on the Undead bosses, this fight requires players to pay attention to two major things: adds & totems, and Interruptable spells.
WoW SoD Phase 3: Priest Healer BIS Gear Guide (Disc & Holy Specs)
Priests are now and have always been top dogs when it comes to healing. This is how you can get the best gear and continue your reign atop the casuals
Atal’ai Defenders Tank Tips
|
Atal’ai Defenders Melee DPS Tips
|
Atal’ai Defenders Ranged & Caster DPS Tips
|
Atal’ai Defenders Healer Tips
|
How To Beat Dreamscythe & Weaver
Dreamscythe & Weaver Strategy & Tips For Each Role
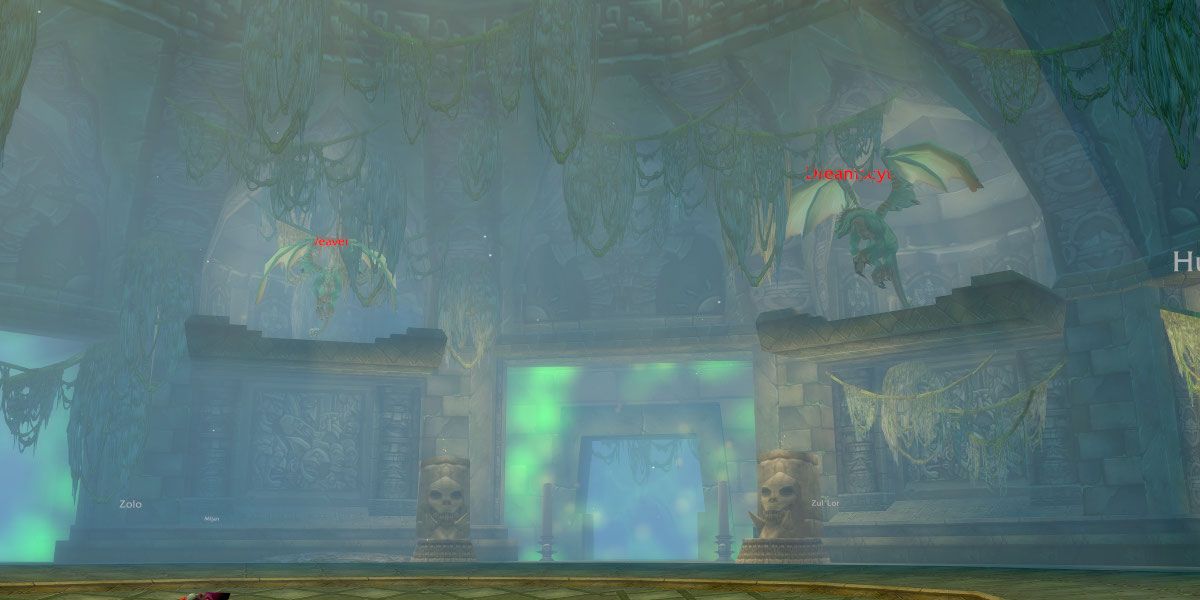
Dreamscythe and Weaver make up a duo that serves as the fourth Sunken Temple boss. The fight will begin when the Raid enters the inner ring of the central ring after beating the previous boss, so be careful not to trigger the fight early after beating the Atal’ai Defenders and get outside of the ring.
Dreamscythe and Weaver are a relatively simple fight overall. One boss will be active while the other flies around the arena, then the other swaps in. At 60% HP, both will become active and must be tanked seperately. But there’s one thing all players need to be especially careful of – the hole in the middle of the arena.
Every few seconds the active boss (or both, if both are up) will blow players backward with their wings. As long as you are to the side of the boss, and not between it and the hole, you shouldn’t be knocked in and killed. But aside from avoiding the wing buffet, there are a few more things each role should keep in mind.
0:57
WoW SoD: How To Get Dual Spec
Having Dual Spec in WoW Season of Discovery lets players swap between two Talent trees at any time – here’s how to unlock it.
Dreamscythe & Weaver Tank Tips
|
RELATED
Dreamscythe & Weaver Melee DPS Tips
|
Dreamscythe & Weaver Ranged & Caster DPS Tips
|
RELATED
Dreamscythe & Weaver Healer Tips
|
How To Beat Jammal’an and Ogom
Jammal’an and Ogom Strategy & Tips For Each Role
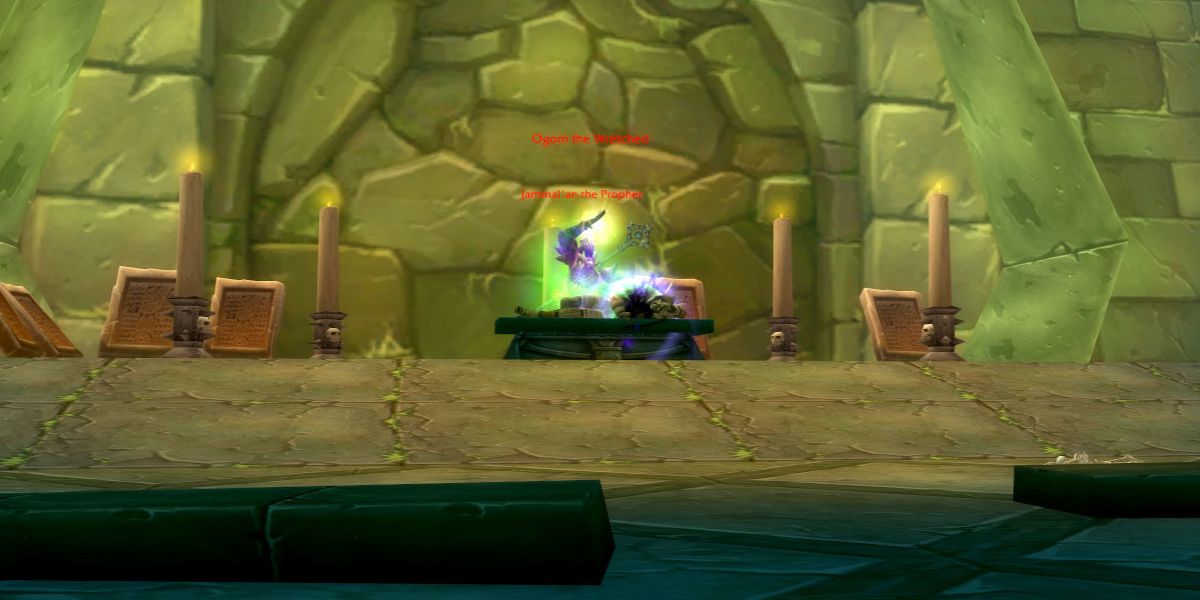
The fifth boss of the Raid is another duo, Jammal’an and Ogom. To get here, go to the southern side of the central boss arena and kill the Trolls leading to a large chapel-like room. Just like the Atal’ai Defenders, the first boss you face of this duo is different every week, but the strategies remain basically the same.
During Phase 1, the main boss will constantly heal while the raid focuses down the secondary boss of the week. Then in Phase 2, the main boss will eat the body of the other and gain a new set of abilities, requiring different strategies each week. Of the two, Jammal’an the Prophet is slightly more difficult to deal with in his stronger form. The fight is relatively simple for Tanks and DPS, but Healers will be tested in their ability to keep party members healed and effectively Dispel debuffs from them.
WoW Season of Discovery: Grime Encrusted Ring Quest Walkthrough
The WoW SoD Grime Encrusted Ring quest has been updated for lvl 40 – its requirements are essentially the same, but now it rewards a max-level Ring.
Jammal’an and Ogom Tank Tips
|
Jammal’an and Ogom Melee DPS Tips
|
Jammal’an and Ogom Ranged & Caster DPS Tips
|
Jammal’an and Ogom Healer Tips
|
How To Beat Hazzas & Morphaz
Hazzas & Morphaz Strategy & Tips For Each Role
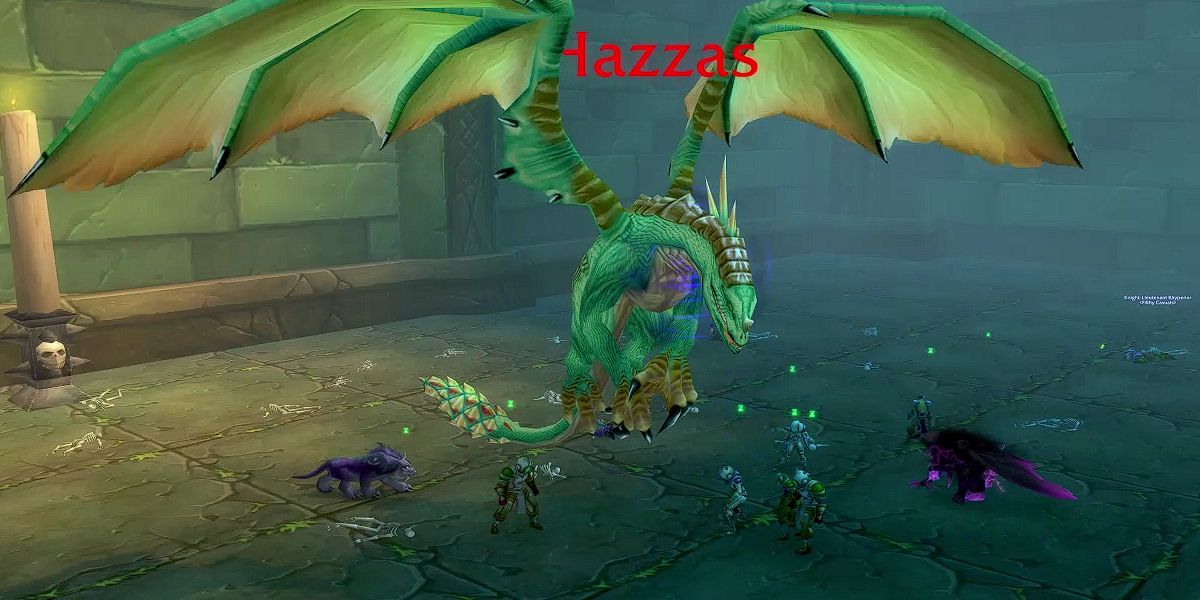
Another duo boss, Hazzas and Morphaz make up the sixth boss of Sunken Temple, but while other bosses can be fought at the same time in the same room, this encounter is a bit different. Walk back to the central arena and walk into the right-side hallway to reach Hazzas – the fight begins when you pull the boss, who is flying around the room.
Just like with all Dragon bosses, all players should avoid standing directly behind or in front of Hazzas (except the Tank, who has to stand in front, of course). Two tanks must swap off every time Corrupted Breath comes out because it deals stacking damage, but there’s a bit more to this fight than just tanking and killing it.
At 80% HP, Hazzas will summon five Fire elementals. When these die, they leave a small patch of fire on the ground, which causes players to catch fire, take damage, and rapidly run forward. Hazzas will slowly begin to cast Lucid Dreaming very soon afterward, and being On Fire is the only way to avoid being forced to Sleep – and the only way to wake up players who are sleeping.
Melee DPS should stand in the fire when the cast goes off and swiftly wake everyone up by running into them in the Dream. If you can effectively manage the Fires and wake up the Raid, and can pass the DPS check of the third phase when you are sent to the Dream once again, you’ll be able to beat Hazzas and Morphaz.
WoW Season of Discovery: Phase Two Epic Crafting Quest Guide (Grime-Encrusted Salvage Walkthrough)
SoD Phase Two’s epic crafting quest chain involves a new item, Grime Encrusted Salvage, and is open to every production profession in classic WoW.
Hazzas & Morphaz Tank Tips
|
Hazzas & Morphaz Melee DPS Tips
|
Hazzas & Morphaz Ranged & Caster DPS Tips
|
Hazzas & Morphaz Healer Tips
|
How To Beat Shade of Eranikus
Shade of Eranikus Strategy & Tips For Each Role
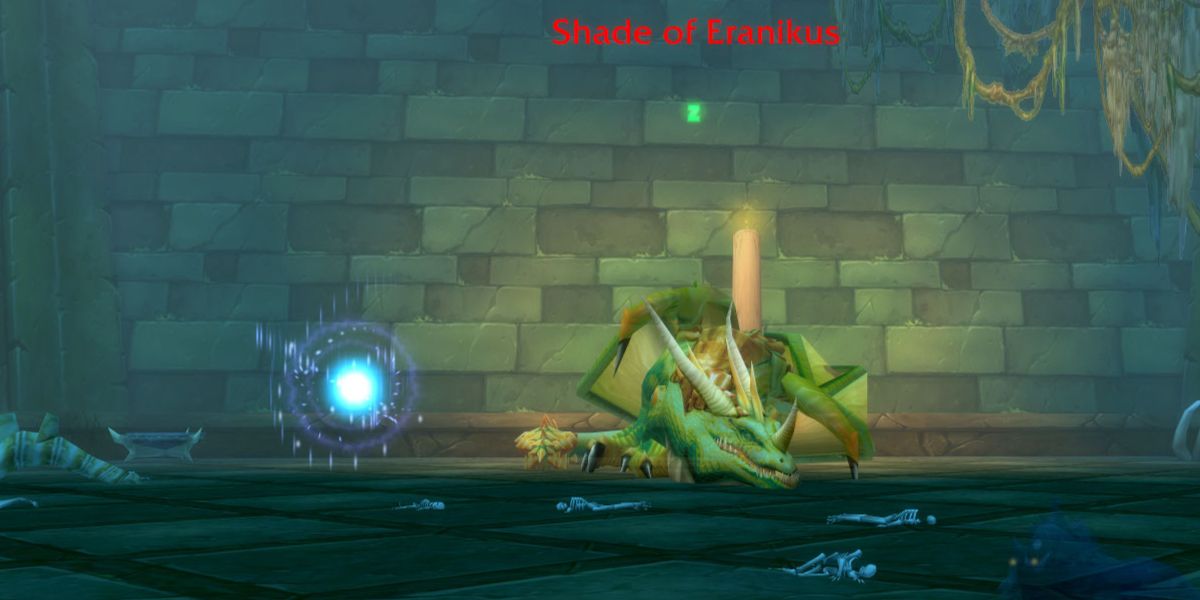
The Shade of Eranikus is the seventh and, technically, final boss of Sunken Temple – though players who have completed a certain questline will find a “hidden” eighth boss after this, too. The Shade of Eranikus can be a difficult fight for uncoordinated teams thanks to the sheer number of adds and mechanics that you have to watch out for. It’s not a bad idea to pop a Nature Protection potion before this fight, and then another during the fight.
In Phase One, which ends at 70% HP, everyone will need to stand to the side of the boss (except the Tank) and watch out for both the interruptible Bellowing Roar AoE fear and the Deep Slumber ability. Deep Slumber spawns a cloud on ranged players, who should stay relatively close to melee DPS while moving away from other clouds as they appear. When the boss starts casting Waking Nightmare, everyone needs to jump into a cloud as soon as possible. This ability will deal 30,000 damage to everyone, but the clouds reduce damage taken by 99%, which counters this guaranteed kill ability.
At 70% two adds will spawn, which need to be DPSed down and interrupted as fast as possible. In Phase Two, which goes from 70% to 40% HP, Nightmare Whelplings will spawn every 10 seconds as well, which need to be grouped up and tanked alongside Eranikus to effectively AoE them down. Due to the sheer number of adds that spawn, this is often easier said than done.
At 40%, the Waking Nightmare sequence will play out again, and players must get to a cloud to reduce their incoming damage. Just like before, kill the two Lumbering Dreamwalkers and interrupt their casts, then get ready for Phase 3.
In Phase 3, more of the basic Whelplings continue to spawn, and Nightmare Scalebanes join them every 10 seconds. Their Acid Rain ability must be interrupted (or they can be killed quickly) or the raid will have to avoid the Acid Rain AoEs around the boss arena. It’s not a bad idea to spread out a little bit more before Phase 3 so everyone can more easily avoid these damage pools.
This last phase is mostly a DPS check as your Raid is slowly overwhelmed by adds and random Waking Nightmare casts. Follow mechanics to the T, interrupt what can be interrupted, dispel what can be dispelled, and you will come out on the other side of the fight.
WoW Season of Discovery: 7 Best SoD Addons
These best addons for SoD are the seven you should install first to optimize your combat rotation, progression, and ability to organize & track items.
Shade of Eranikus Tank Tips
|
Shade of Eranikus Melee DPS Tips
|
Shade of Eranikus Ranged & Caster DPS Tips
|
Shade of Eranikus Healer Tips
|
How To Beat Avatar of Hakkar
Avatar of Hakkar Strategy & Tips For Each Role
The Avatar of Hakkar is not necessarily a tough fight, but it’s certainly not one that you can turn your brain off for. This fight is not too DPS or output-intensive – success or failure completely depends on individual players’ ability to understand and follow mechanics.
To spawn the Avatar of Hakkar, one player in the raid must have the Egg of Hakkar, an item given as part of a questline that begins with “Screecher Spirits” in Steamwheedle Port, Tanaris. Once used, a short special effect will play, and the Hakkari Bloodkeeper and four summoners will appear. Kill the four summoners to begin the two-phase boss fight. After 30 seconds of fighting the Bloodkeeper, the Avatar will appear, and each has different abilities to watch out for.
In both fights, melee DPS should stack behind the boss, and ranged and healers should stand a little further away behind, ready to move in response to the Bubbling Blood ability. Ranged and healers will have to start at the top of the boss arena, behind melee DPS, and slowly move down as the bubbling bloods come out.
There are three mechanics players need to especially watch out for in this fight: Spirit Chains, Insanity, and Corrupted Blood. It’s a good idea to set up an area away from both melee and ranged groups for Decursing the Insanity debuff, a separate area for dispelling Spirit Chains safely, and a third area in front of the boss (but away from the Tank) for the Corrupted Blood debuff.
- The Hakkari Bloodkeeper will cast Spirit Chains on two players, which deals DoT Shadow damage and reduces Attack, Cast, and Move speed. To break it, you need to walk away from the other player with Spirit Chains while also staying away from other players. When the ability goes away, or when it is Dispelled, it will infect everyone around you, so you must get away from other players before this drops off one way or another.
- The Avatar of Hakkar itself will cast Insanity on a player, turning them hostile against the rest of the party. But, you can still control your character – they can just take damage from AoEs and will easily die if they stand near the boss for too long. Walk out of the fight to a set spot and get this Decursed, then return to the fight.
- The Avatar of Hakkar will also cast Corrupted Blood on two players in the raid at regular intervals. As soon as this pops on you, you need to run out of the raid, away from other players, and make your way to the front of the boss behind the tank. This will spread just by being near other players, so be sure to get out quickly and avoid running into others. The boss will Corrupted Blood on four players before it casts Drain Blood, which removes the debuff as long as you are standing in their frontal AoE cone. It’s safe to go back to your position when your character model turns into a skeleton.
The best way to avoid the catastrophic effects of the Corrupted Blood mechanic is to Tank the boss so it faces the lone candle in the boss arena, and have the tank stand in front of the candle. When a player is hit with Corrupted Blood, they can make their way to the back of the candle, which should be far enough from the Tank to not spread the ability but close enough to the boss to have the debuff cleansed by Drain Blood.
Aside from that, melee DPS needs to interrupt the Bloodkeeper’s Frightsome Howl, and as long as all other mechanics are followed you will down the Avatar. Curse of Tongues can be interrupted or decursed if your raid group has time, too, but it’s not really necessary as long as the Spirit Chains and Corrupted Blood mechanics are followed.
WoW SoD: The Wild Gods Quest Walkthrough
The new quest The Wild Gods asks players to farm three Wild Offerings from specific bosses available at the WoW SoD P3 max level of 50.
Avatar of Hakkar Tank Tips
|
Avatar of Hakkar Melee DPS Tips
|
Avatar of Hakkar Ranged & Caster DPS Tips
|
Avatar of Hakkar Healer Tips
|

World of Warcraft
- Released
- November 23, 2004
- Engine
- Unreal Engine
- ESRB
- T for Teen: Blood and Gore, Crude Humor, Mild Language, Suggestive Themes, Use of Alcohol, Violence (online interactions not rated)
Read original article here: gamerant.com
News Summary:
- WoW SoD: Complete Sunken Temple Raid Guide – Location, Bosses, & Strategies
- Check all news and articles from the latest GUIDES updates.
- Please Subscribe us at Google News.
